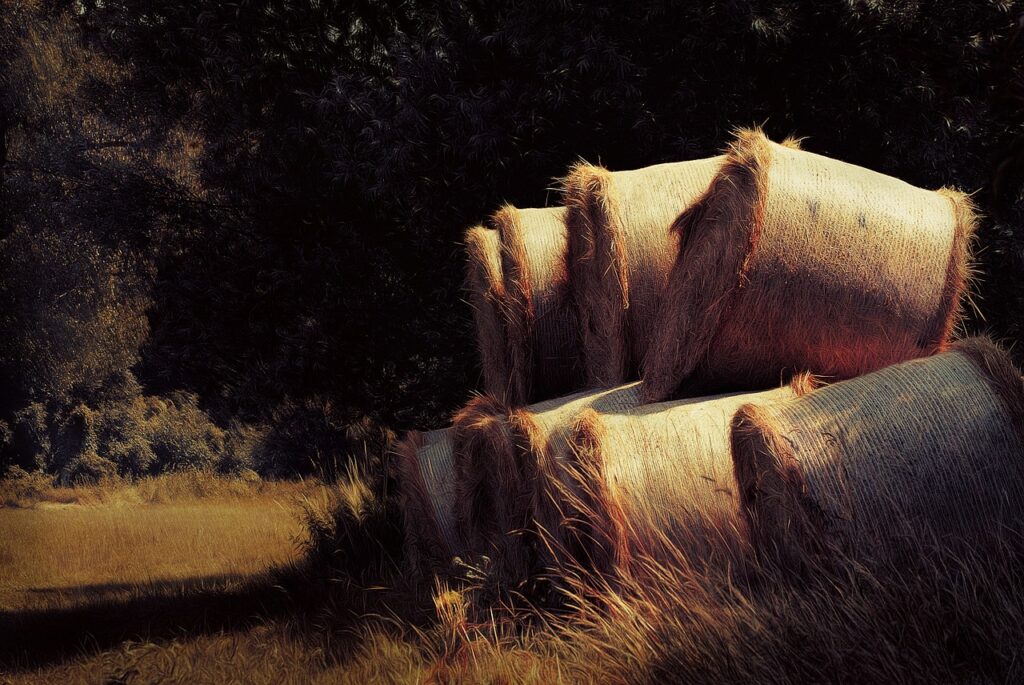
<p>One of the best things about hay bales is the fact that they’re an incredibly versatile material, popular both in construction and farming. Sure, the first thing that comes to mind is their function as animal fodder, yet, there are simply too many uses for hay bales for one to award them this simple function. For instance, some people use straw bales in order to make a cold frame for their plants to grow in. Others, use it to create alternative outdoor seating options. Either way, in order to use these hay bales you need to grow them first and here’s a short guide on how to do so most effectively.</p>
<h2>1. Different hay varieties</h2>
<p>Before we start, you need to understand that the term hay consists of various different <u>sub-categories</u>, the three most common being grass, legume and grass/legume combination. The grass is the simplest and the most iconic one, which is why, whenever the word hay is mentioned, most people imagine something like Bermuda grass, orchard grass (cat grass) or Timothy. When it comes to legumes, alfalfa hay is probably the one that’s worth mentioning the most. As for nutritious value (for those who are mostly fodder-oriented), going for a combination of grass and legume is usually the best choice.</p>
<h2>2. Preparing the soil</h2>
<p>The next thing you need to consider is the issue of preparing the soil for planting, this, alongside with planting process is the main determiner of how successful your harvest will be. For starters, you should probably get a sample of your soil and analyze it in order to see the composition. If not additives are necessary (the level of nitrogen in the soil is high enough), you can both cut your costs and your effort. Apart from nitrogen, you also need to check the pH level of the soil, as well as check for legumes, phosphorous and potassium.</p>
<h2>3. Crop rotation</h2>
<p>One thing that every seasoned farmer knows is the fact that the <u>crop rotation</u> is one of the best ways to let your soil recover from an exhausting previous harvest (or several harvests). Due to the fact that hay takes a lot smaller toll on the soil, it’s usually smart to grow it after several years of planting corn. This is particularly beneficial when it comes to the alfalfa. Needless to say, this is just one way for you to maximize your annual yield and prepare your land for a similar performance in the following year.</p>
<h2>4. Pests</h2>
<p>As for the factors that can potentially endanger your plans, you need to understand that pests usually come to the forefront. Most commonly, we’re talking about insects, which can be quite problematic, due to the fact that the insecticides seem to be the only solution in this scenario. This is especially tricky seeing as how some insects if they end up in fodder, may be particularly harmful to your animals. On the other hand, you don’t want to serve them fodder that’s been treated with too many pesticides either.</p>
<h2>5. The cost-efficiency</h2>
<p>At the very end, you need to understand one thing – growing hay may not require a lot of effort but it does require a lot of space. This means that in order to commit to this, you need to be sure that you’re not missing out on a much better option. Sure, the cost of growing and producing grain is much greater, as is the effort, yet, in the end, it might be worth your while. Fortunately, nowadays there are platforms where you can check if there’s <u>hay for sale</u> and what are its prices. In this way, you can make the best decision regarding whether it’s worth growing your own hay or if buying it and growing something else on your land is a better choice.</p>
<h2>In conclusion</h2>
<p>Once you have all of this under control, all you have to worry about is harvesting and baling. Keep in mind, however, that both of these tasks require specialized machinery and an abundance of experience. Therefore, if you have never done this on your own, either look for some assistance and guidance by a veteran or outsource this task altogether. When all is set and done, make sure to test your hay in order to make sure that it’s safe for use, as well as so that it can receive a necessary certificate.</p>

Growing Your Own Hay – What You Need to Know
