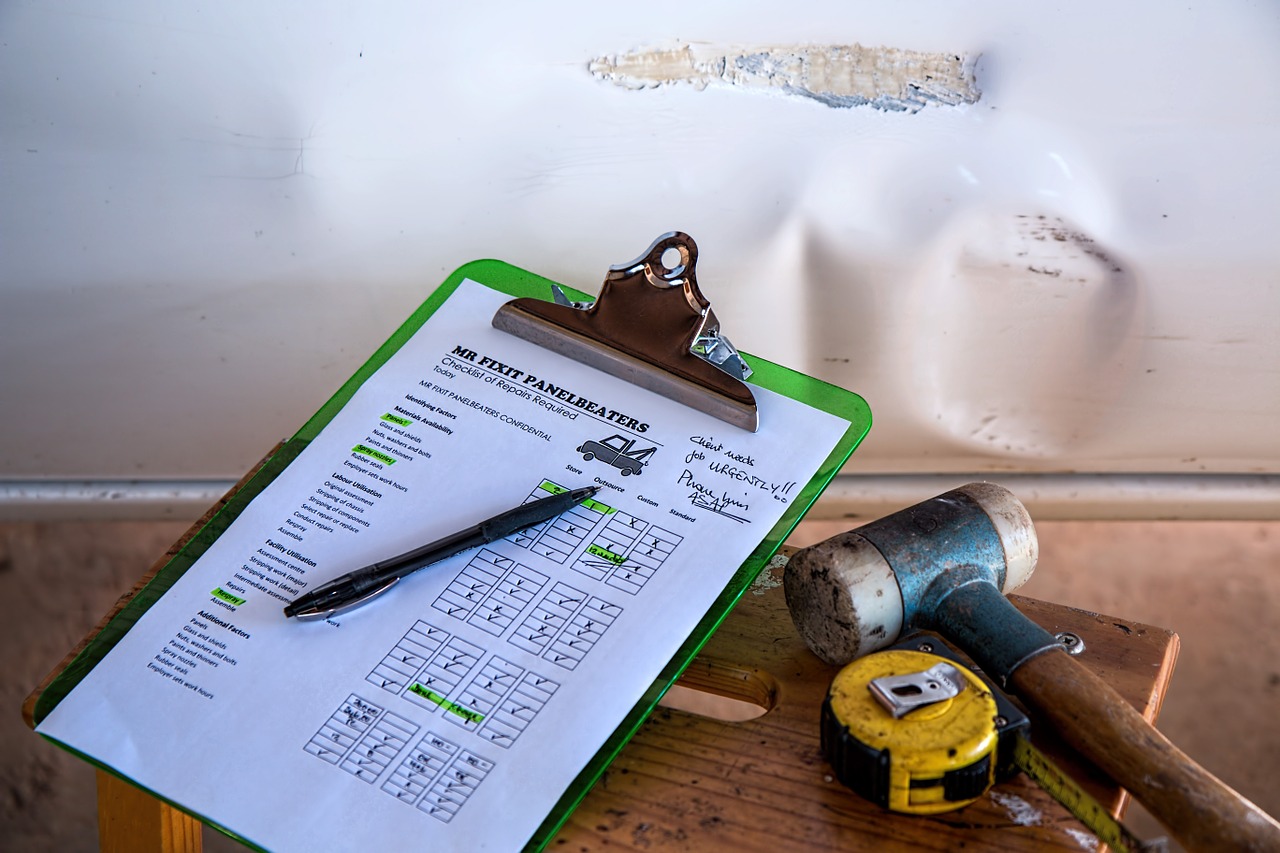
A number of things can cause car scratches including poor parking, vandalism, and accidents among other mishaps that could leave a mark on your paint job. Seeking out a remedy in a body shop can prove expensive as even just a minute touch-up can attract a hefty bill which is why we’ll be taking a look at how you can get rid of scratches effectively and without having to pay through the nose.
1) Using toothpaste

Toothpaste can only get the job done for surface scratches and you can run your fingernail along the crevice to determine the extent of the damage. If your nail isn’t caught in the opening, then you’re toothpaste territory. You’ll first need to clean debris and dirt off the scratch surface as it may inflict further damage during rubbing. Once everything is nice and clean, take out your toothpaste (whitening varieties seem to work best) and, preferably, a microfiber towel then apply about a teaspoonful onto the towel. Rub the paste in circular motions around the scratch whilst applying slight pressure to ensure an even spread then rinse away the excess with a hose before using the towel to dry out the area. You might need to repeat the entire process once more to ensure the scratch is effectively gone.
2) Turning to a quality scratch removal product

Again, you’ll also need to ensure the surrounding exterior is free of contaminants by starting off with a soapy wash and rinse before applying the scratch removal product. Once the surface is completely dried up, pour a quarter-sized amount of the solution onto a microfiber cloth or buffing pad then fold the material in half to ensure the product is well absorbed and distributed evenly within the material. Circular motions back and forth in and around the scratch area are the way to go for a constructive wipe and be sure to stick to a singular direction or you will be doing and undoing your work. A couple of minutes of wiping should be enough after which get rid of the product residue using a clean microfiber cloth. Do not let the excess product dry and repeat the entire procedure twice or thrice until the scratch is not visible to the eye. Remember to check the product’s label for the manufacturer’s guideline as different products require different approaches.
3) Painting

The first two are great at concealing small scratches but if that fingernail test carried out in step one affirmed a deep cut, then it’s time to redo the paint job albeit just the area of interest. Spray water into the scratch to do away with dirt particles then wash the area with soapy water before carrying out a thorough rinse on the graze. Now take a piece of sandpaper and rub off the paintwork in the scratch and surrounding areas along the direction of the scratch lest you create another one in the opposite direction. The next step involves spraying primer on the sanded area- let it sit for about ten minutes- before applying a few coats of paint to finish. It goes without saying that color of the primer and paint should be in tandem with the rest of your car’s paintwork.
Your car will still drive fine if you turn a blind eye to scratches but in the long run, they will come back to haunt you as they’ll knock a considerable percentage off your vehicle’s standard resale value. Alternatively, scratches will require you to dig deep into your pocket when you eventually decide to act. In a nutshell, dealing with scratches as soon as they appear will nip future problems in the bud and now you know how to do so.
