Installing driveway pavers is a daunting task. Whether you are planning to install brick, concrete, or stone pavers, you need driveway builders. There are some other steps too that will help you to install driveway pavers.
If you plan to install it professionally, then you should hire a driveway builder. The driveway builders are professionals, they are familiar with the entire process. The steps for installing driveway pavers are as follows:
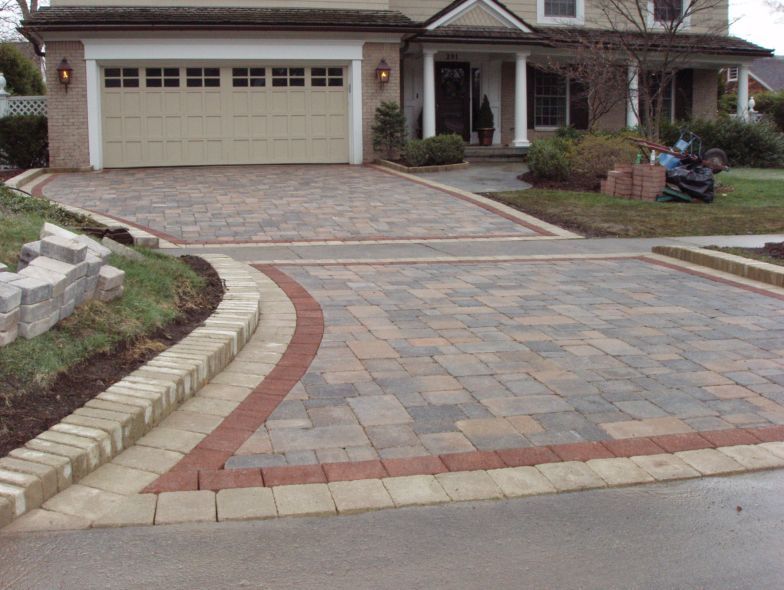
Formation and Outline
Preparation to level the area is the most important step. Driveway pavers find out where the pavers are going and whether there is enough space to adjust. You can also use graph paper to create and measure your plan. Use a hose or wood to cover your planned area to sketch the paved area. Then they can spot or spray the framework eight inches out of the shape. There needs to be a slope or angle in this area, so to avoid water accumulation or accretion of water can go down the pavement which can damage the road surface for a long time.
Analyze the Number of Pavers Required
The second step to determine the width and length of the area. The rate of the pavers varies from their sizes and shape.
Diggings
The builders know the exact height of the pavers that the paver must reach and not exceed. The block must be tilted down and away from the house to allow drainage. Every 4 feet, they should tilt it an inch. Place the chimney around the parameter and mark the stack with a slope. Place a rope tightly on the stake to indicate the height to follow.
Simple Tools
When the diggings are complete, the next stage is to save the basic material. The basic tools are important when installing driveway pavers. Sharp edges and dimensional changes make compression easier. Using crushed rocks with a small amount of water can make compression easier.
The thickness of the base material should be suitable for the desired use, depending on the base material and the weight of the baked space. If your base is made of soft clay, you will need a thick layer. If the pavement is to be laid, a deeper layer than the roof is required.
Edge Barriers
If no edge limiter is installed, the purifier will move and disassemble. Bad weather and heavy traffic will damage the smooth surface of the road without any curb restrictions. Brink shelter can be made of elastic, unvarying concrete, metal, or wood.
Shingle Mat
Formerly placing the pavement, place a layer of cushion sand over the compacted base material. This floor provides beds with pavers. The sand layer also helps prevent erosion. Dwelling an inch distance PVC pipe on the base material. Then, place a coat of sand among one and a half inches thick. Now, use 2 x 4 to smooth the sand to make the PVC pipes visible. Cautiously eliminate the PVC pipe.
Placing Pavers
Lay the pavement according to the planned style and design. Keep them together. Some of the paver’s machines incorporate space bumps into pure designs. When flattening all the pavers, use a automated platter to place the pavers in the sand.
Shingle Seam
This stage includes clearing the surface of the sand, filling in the seams, and locking the pavement in place. It is important to use fine sand instead of coarse sand. Along with screening and bag play sand, play sand is marked as “paver sand”. This is because fine sand will be better compacted and fill the seam faster. The shingle and cemented area must be dry to thorough this step.
Closure
Clean and sanitize the newly placed area to remove all equipment and debris. Seal the sand control area to ensure that the seam does not run out of the sand. It also prevents the growth of plants between joints.
Restoration
If the pavers are placed correctly, it is usually not a problem for their maintenance. The overall work and use of the smooth surface should be stable. Pure needs to be researched regularly to maintain color and appearance. It also helps to avoid stains, algae, and sand. It is recommended to clean and sweep the pew regularly. If the paver is located in a dark or humid place, there is a risk of seasonal (chalk salt deposits) and algae accumulation, which is especially needed. Powerful cleaning is generally not recommended as it will remove sand from the joint. Several scrubbing products = can be used in a multiplicity of techniques.